新增地圖到 Android 應用程式的快速入門指南
Android Studio 版本:2.1.2 已經內建開發 地圖 app 的樣本

選擇 Google Maps Activity

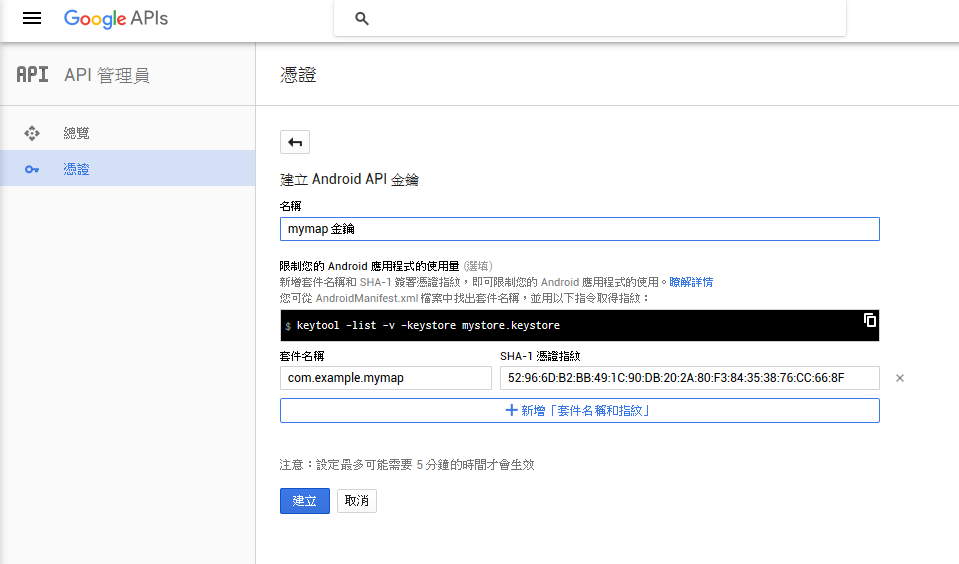
專案建立後,會看到有個檔案 google_maps_api.xml,內有申請 Google Maps API 金鑰 的連結。複製該連結,開啟瀏覽器,將連結貼上,前往申請金鑰。


將金鑰貼入 google_maps_api.xml 的 google_maps_key

開啟瀏覽器,啟用 Google 地圖,找一個我們想要地圖顯示的地點,以 高雄捷運美麗島站 為例。
找到捷運美麗島站後,在文字點滑鼠右鍵,會出現功能表,點選 "這是哪裡?" 在螢幕下方中央處會顯示美麗島站的座標:第一個數字是 "緯度",第二個數字是 "經度",把這兩個數字抄下來。

Android Studio 自動生成的檔案還有 activity_maps.xml,裡面只有一個 fragment:
<fragment
    android:id="@+id/map"
    android:name="com.google.android.gms.maps.SupportMapFragment"
    xmlns:android="http://schemas.android.com/apk/res/android"
    xmlns:map="http://schemas.android.com/apk/res-auto"
    xmlns:tools="http://schemas.android.com/tools"
    android:layout_width="match_parent"
    android:layout_height="match_parent"
    tools:context="com.example.mymap.MapsActivity"/>
MapsActivity.java:
package com.example.mymap;

import android.support.v4.app.FragmentActivity;
import android.os.Bundle;

import com.google.android.gms.maps.CameraUpdateFactory;
import com.google.android.gms.maps.GoogleMap;
import com.google.android.gms.maps.OnMapReadyCallback;
import com.google.android.gms.maps.SupportMapFragment;
import com.google.android.gms.maps.model.LatLng;
import com.google.android.gms.maps.model.MarkerOptions;

public class MapsActivity extends FragmentActivity implements OnMapReadyCallback
{
    private final static String TAG = "MapsActivity";
    private GoogleMap mMap;

    @Override
    protected void onCreate(Bundle savedInstanceState)
    {
        super.onCreate(savedInstanceState);
        setContentView(R.layout.activity_maps);
        // Obtain the SupportMapFragment and get notified when the map is ready to be used.
        SupportMapFragment mapFragment = (SupportMapFragment) getSupportFragmentManager()
                .findFragmentById(R.id.map);
        mapFragment.getMapAsync(this);
    }


    /**
     * Manipulates the map once available.
     * This callback is triggered when the map is ready to be used.
     * This is where we can add markers or lines, add listeners or move the camera. In this case,
     * we just add a marker near Sydney, Australia.
     * If Google Play services is not installed on the device, the user will be prompted to install
     * it inside the SupportMapFragment. This method will only be triggered once the user has
     * installed Google Play services and returned to the app.
     */
    @Override
    public void onMapReady(GoogleMap googleMap)
    {
        mMap = googleMap;

        // Add a marker in Sydney and move the camera
        // LatLng sydney = new LatLng(-34, 151);  原本的座標值是雪梨某處
        // 替換上美麗島站的座標
        LatLng sydney = new LatLng(22.631392, 120.301803);
        mMap.addMarker(new MarkerOptions().position(sydney).title("捷運美麗島站"));

        mMap = ((SupportMapFragment) getSupportFragmentManager().findFragmentById(R.id.map)).getMap();
        mMap.setMyLocationEnabled(true); // 右上角的定位功能;這行會出現紅色底線,不過仍可正常編譯執行
        mMap.getUiSettings().setZoomControlsEnabled(true);  // 右下角的放大縮小功能
        mMap.getUiSettings().setCompassEnabled(true);       // 左上角的指南針,要兩指旋轉才會出現
        mMap.getUiSettings().setMapToolbarEnabled(true);    // 右下角的導覽及開啟 Google Map功能

        Log.d(TAG, "最高放大層級:"+mMap.getMaxZoomLevel());
        Log.d(TAG, "最低放大層級:"+mMap.getMinZoomLevel());

        mMap.moveCamera(CameraUpdateFactory.newLatLng(sydney));
        mMap.animateCamera(CameraUpdateFactory.zoomTo(16));     // 放大地圖到 16 倍大
    }
}

取得自己的 Android 裝置的定位
在模擬器取得定位值的操作